Screenshots
Take a look at what is possible with doWM!
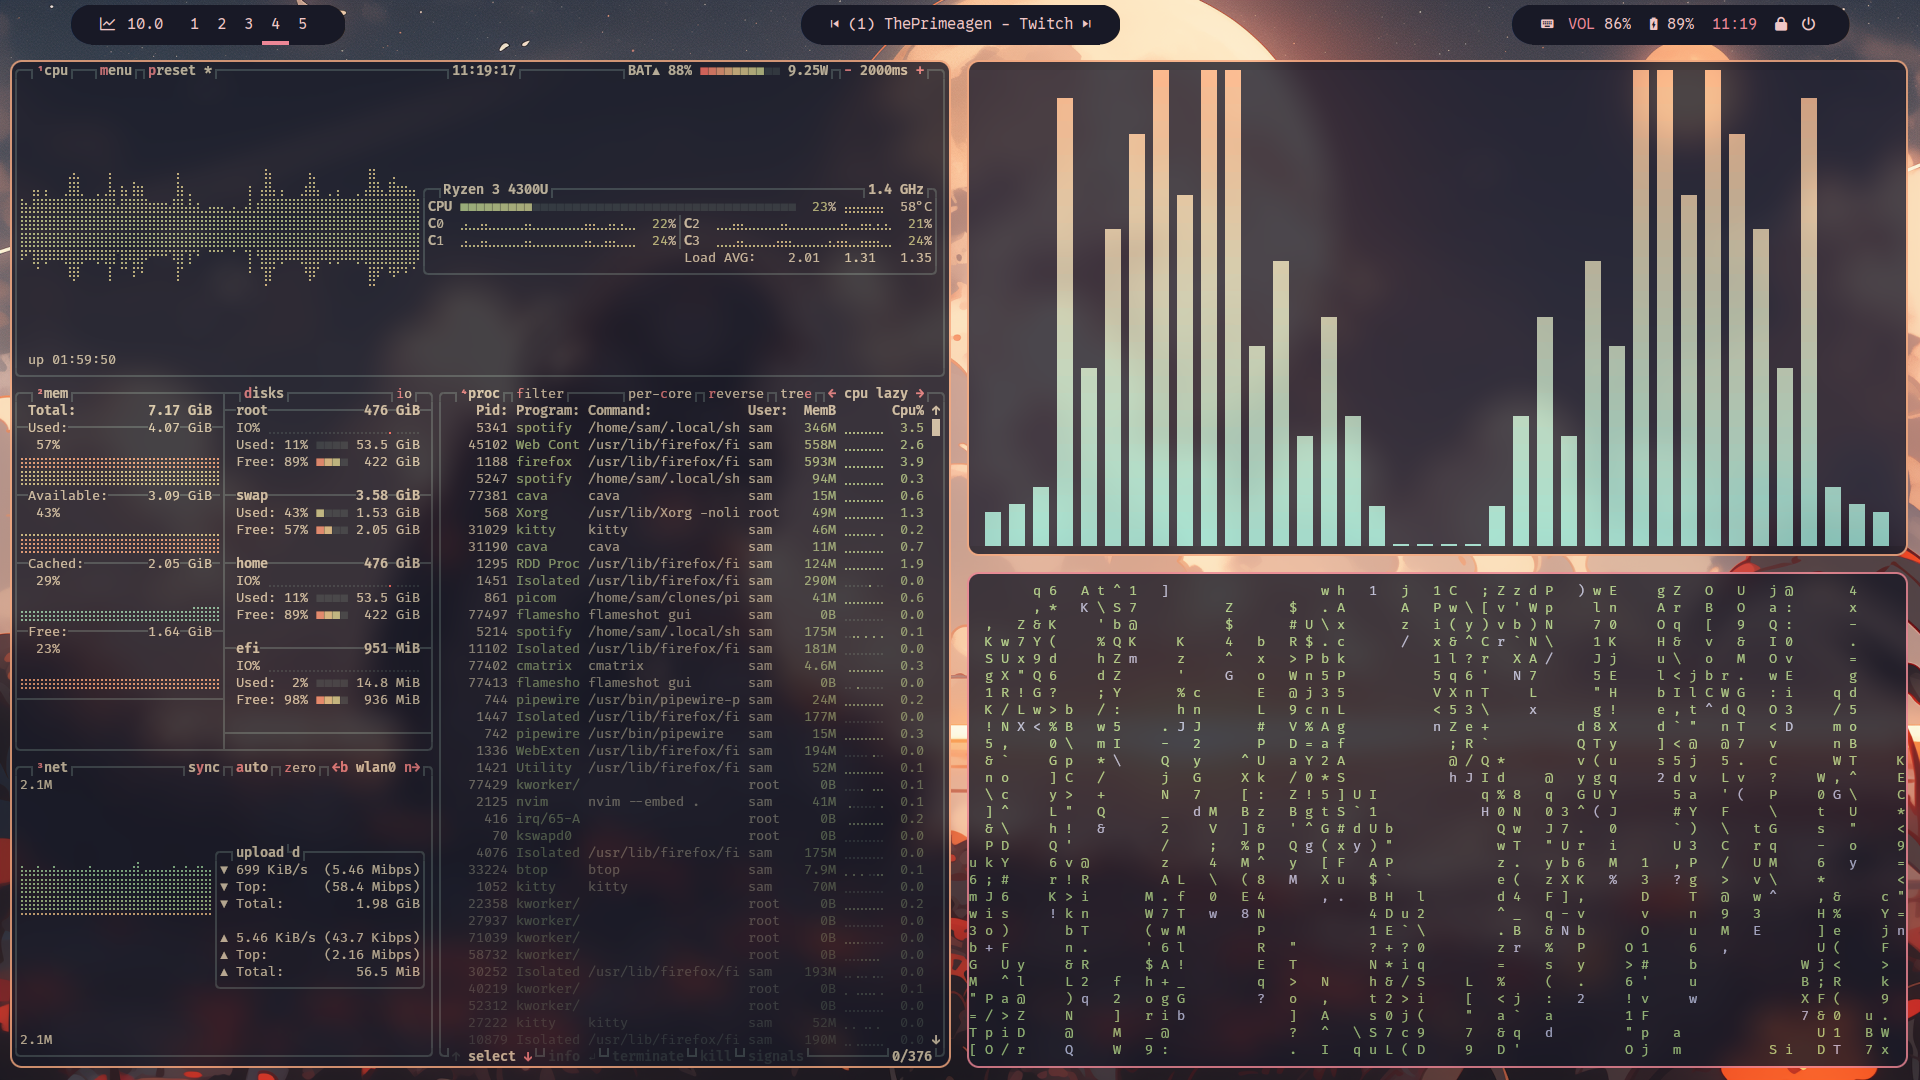
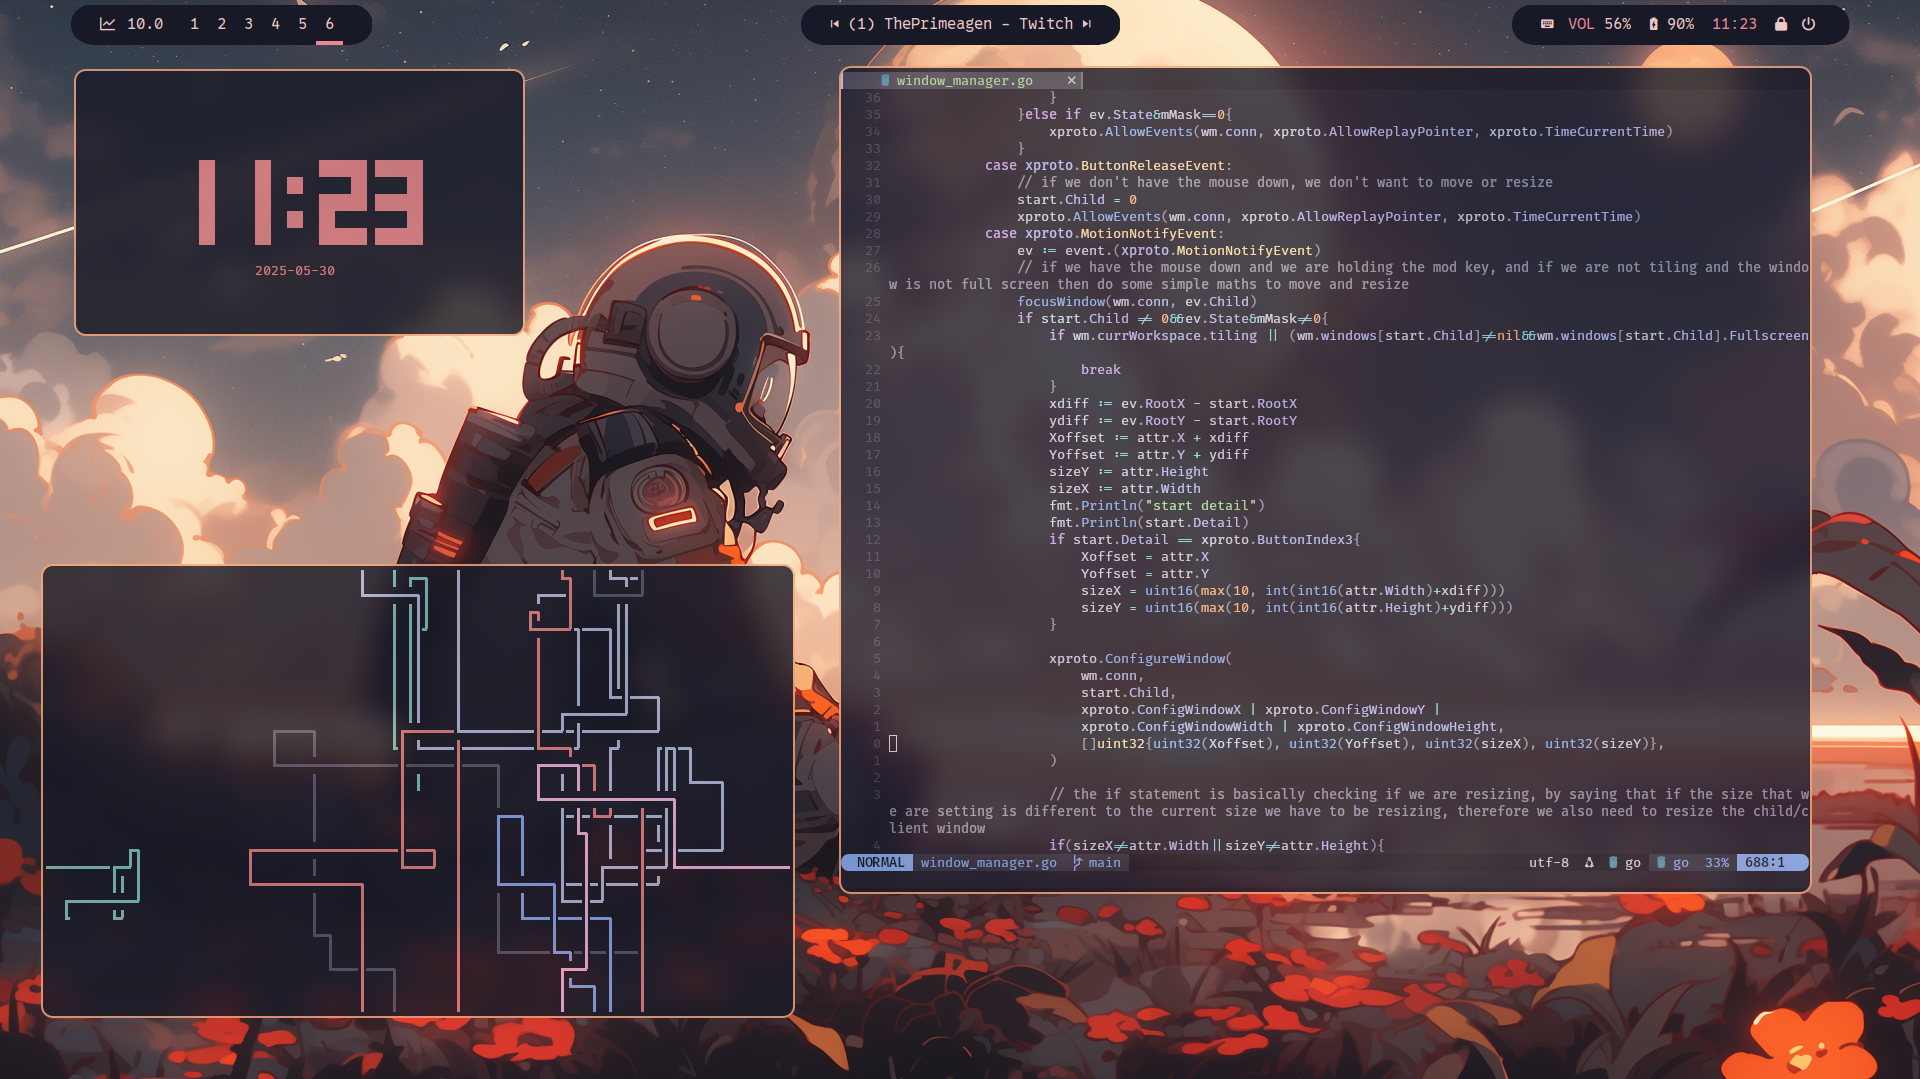
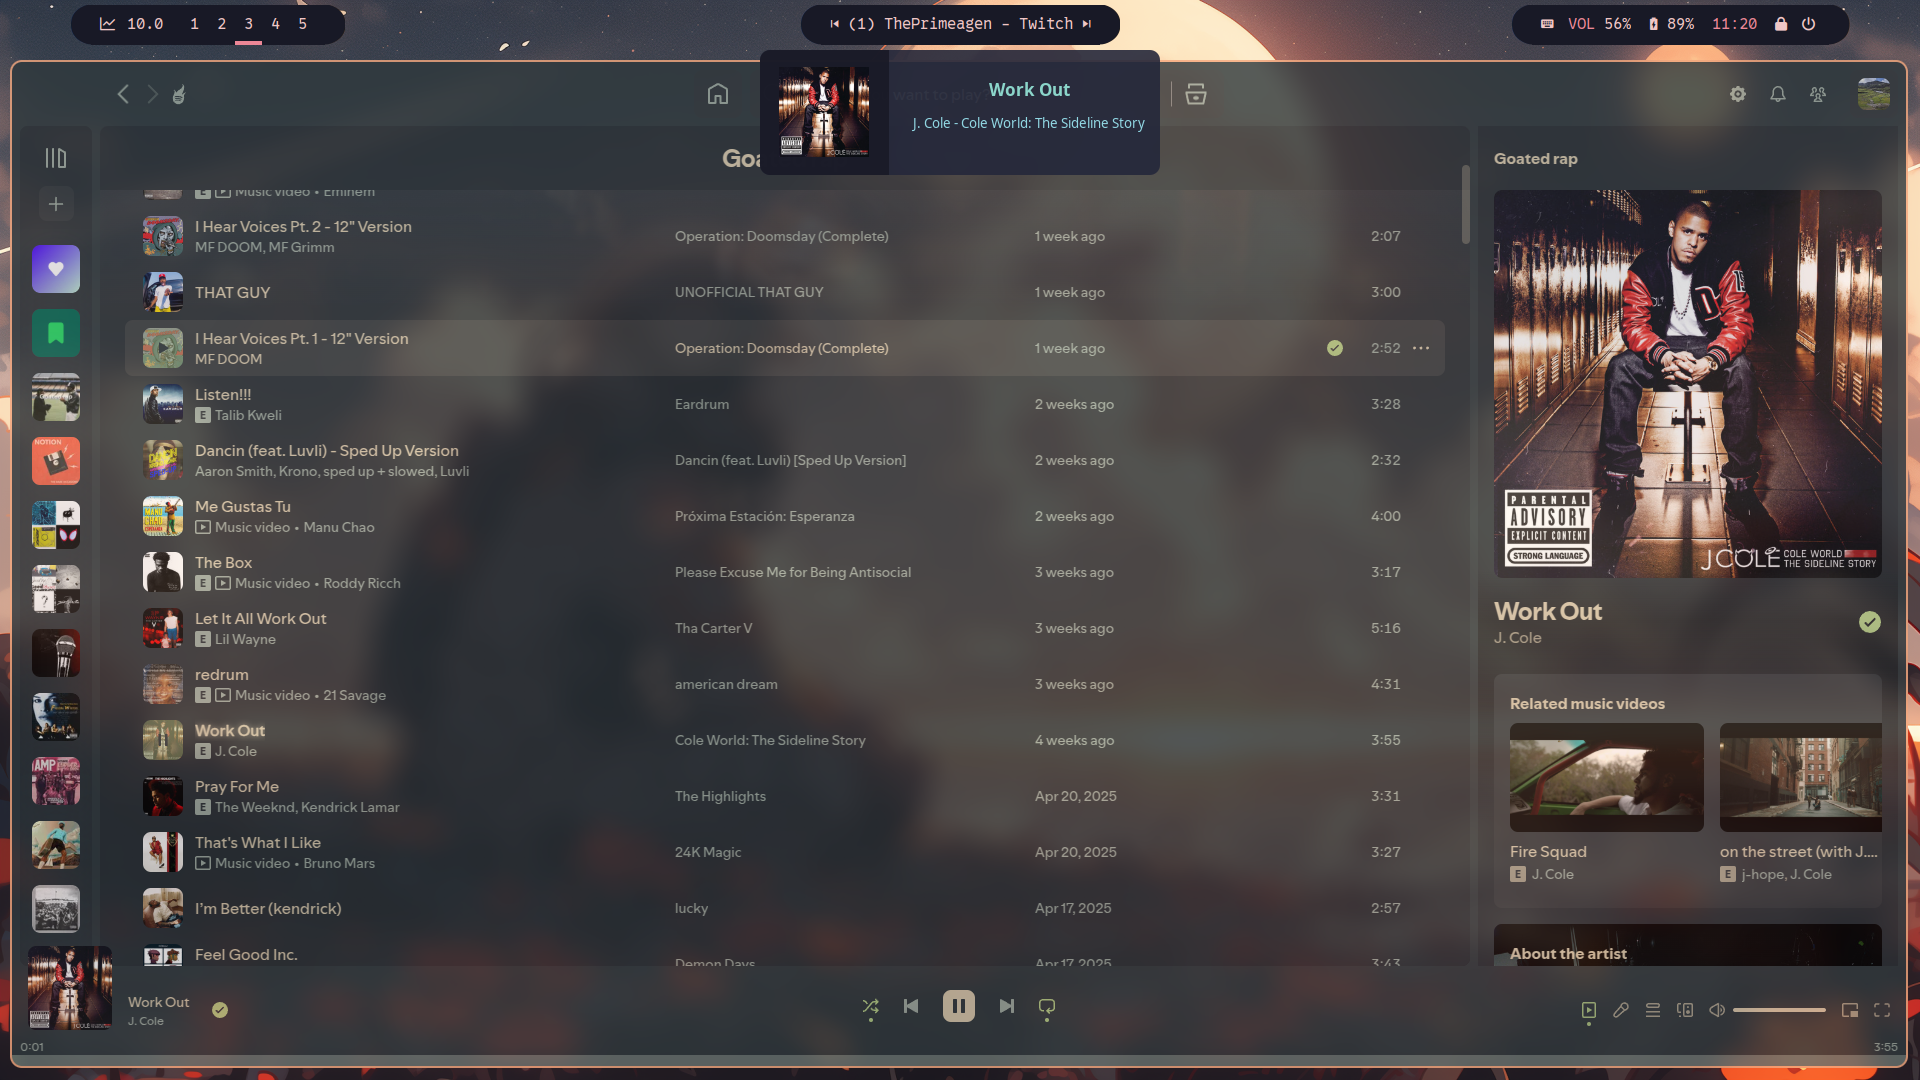
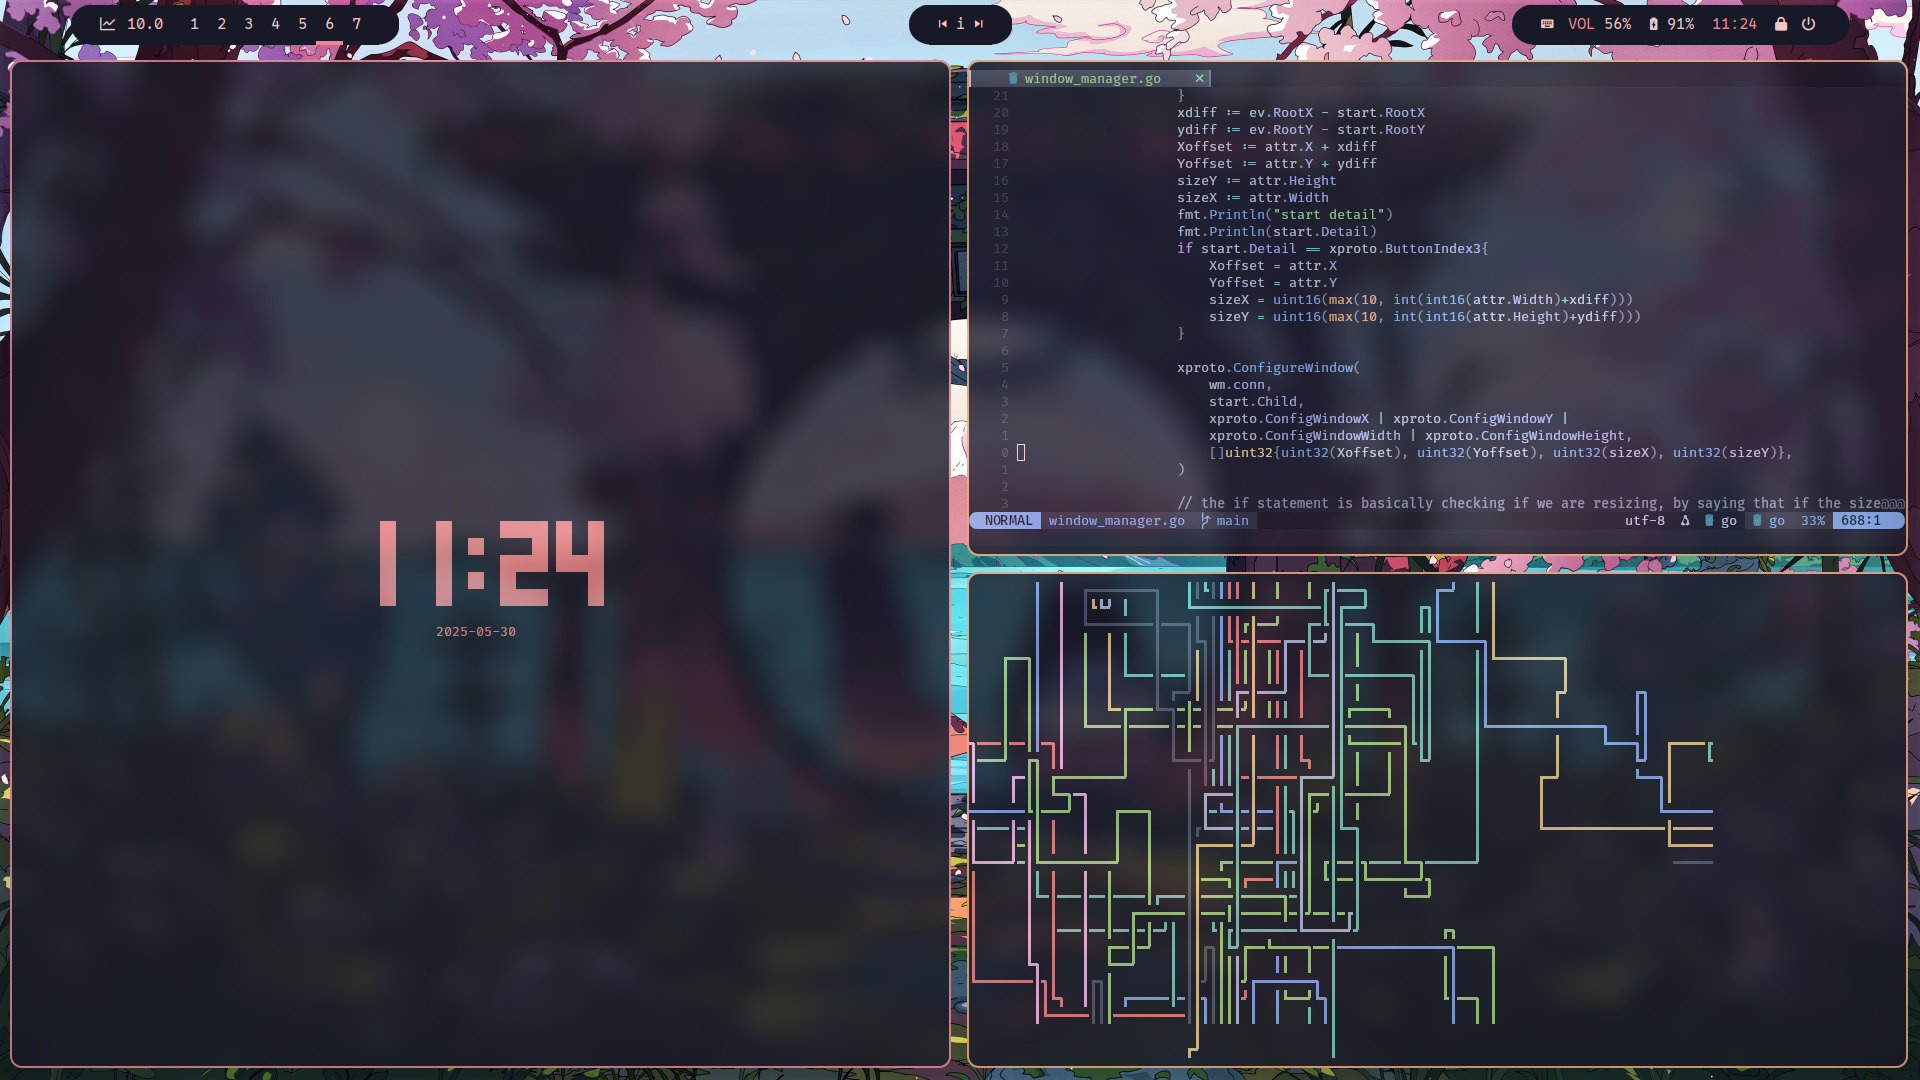
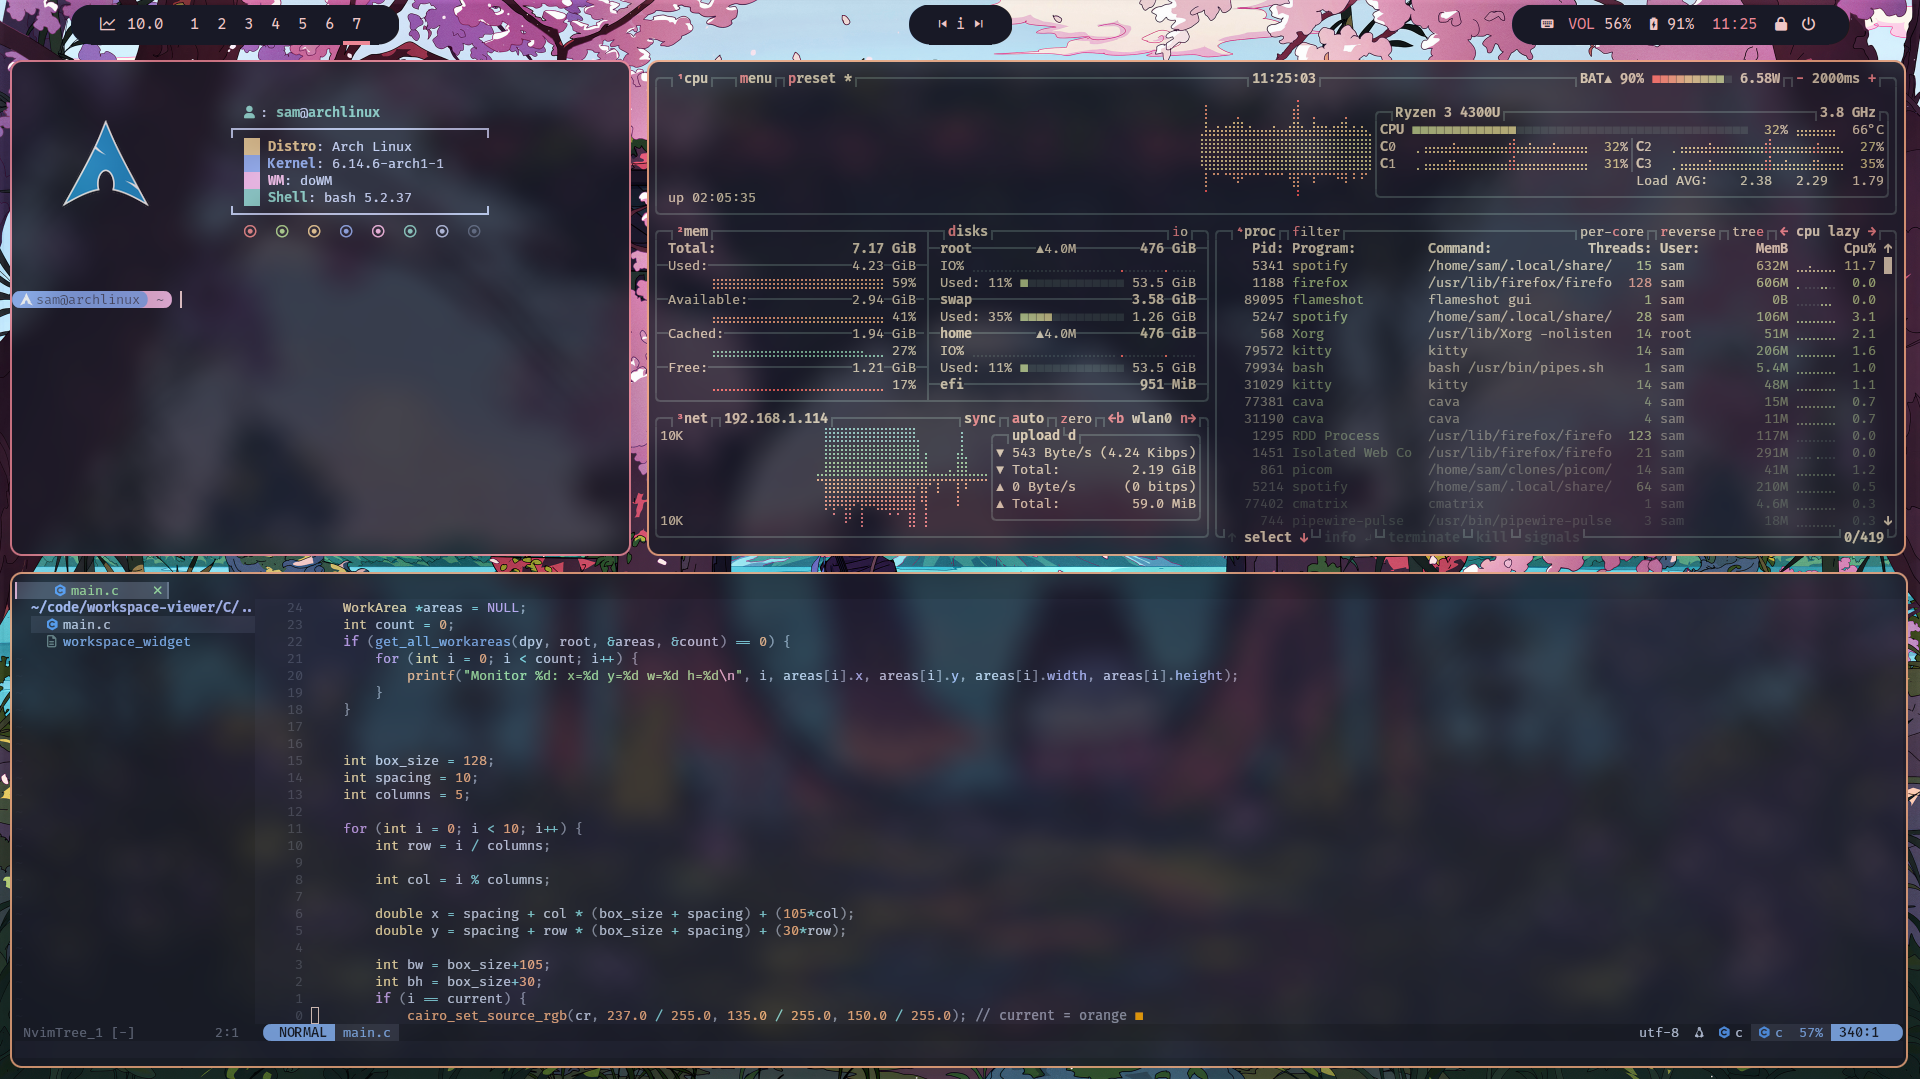
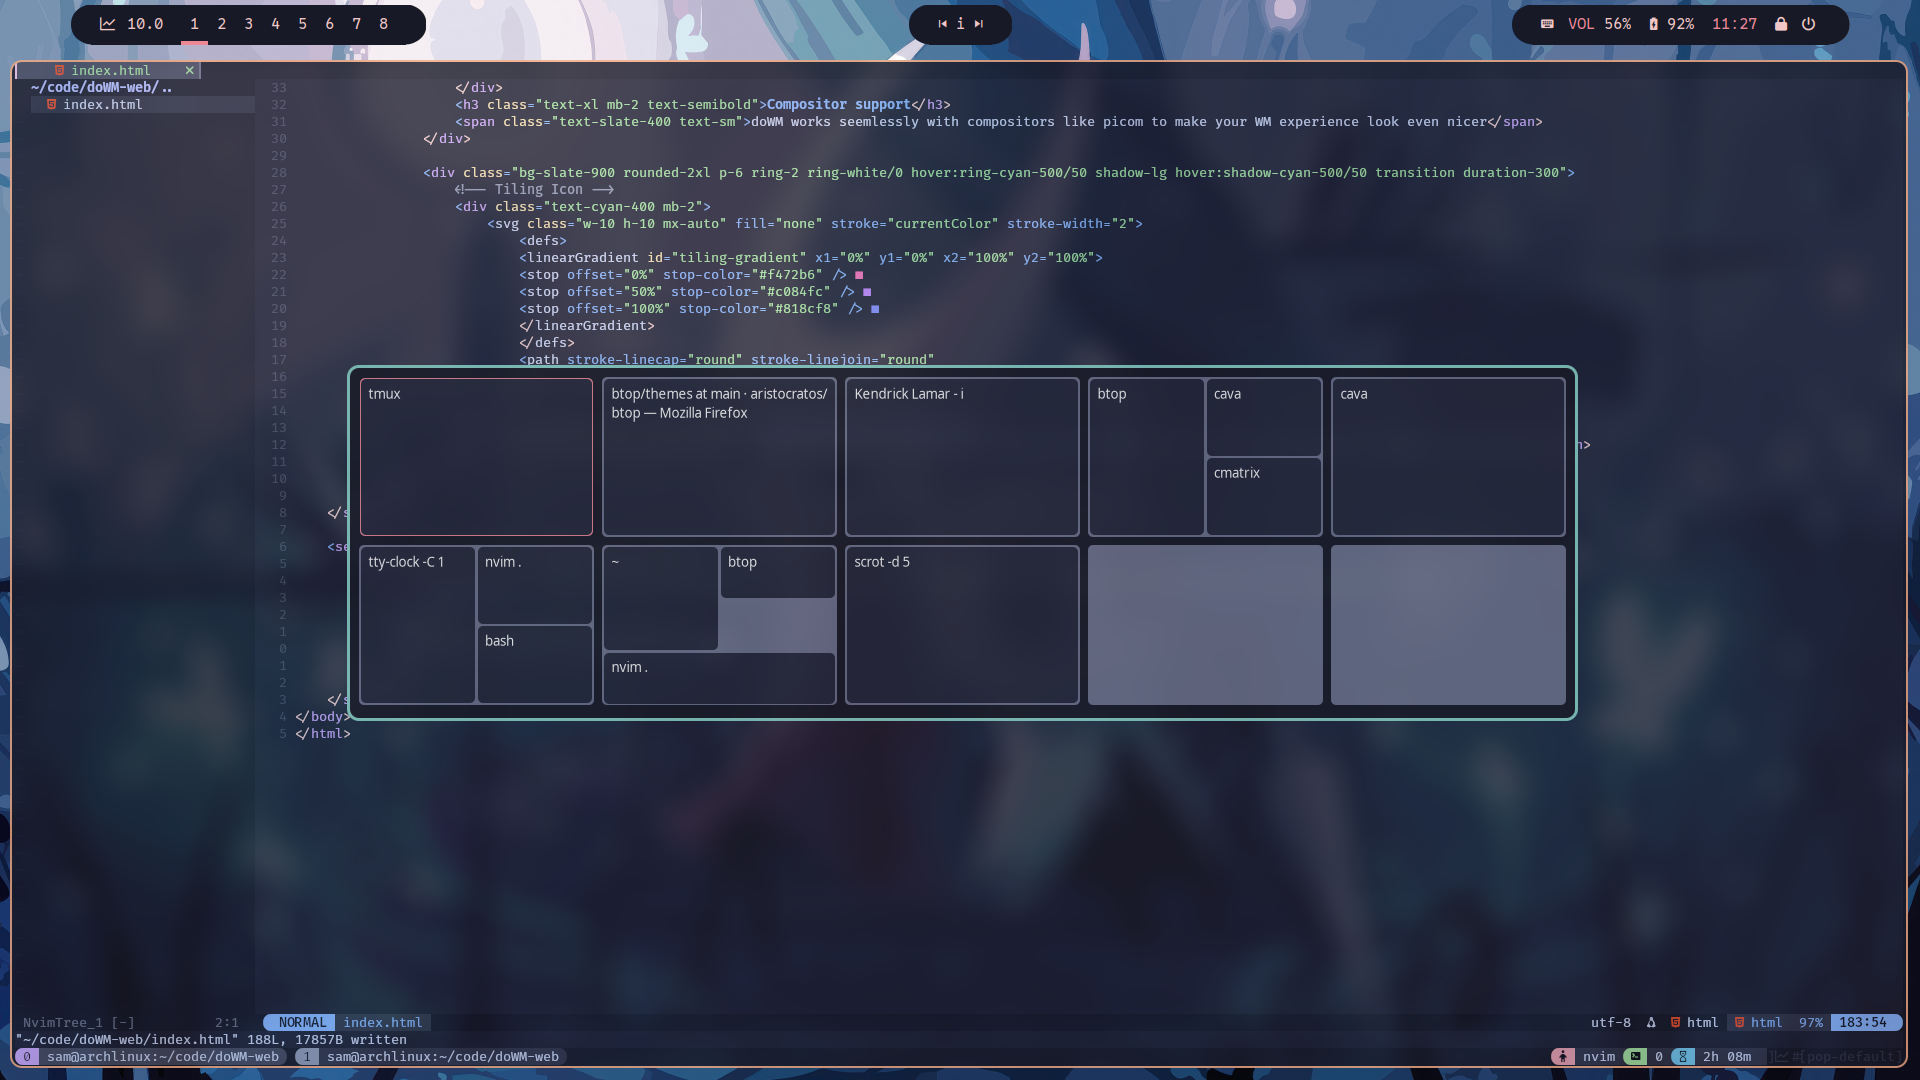
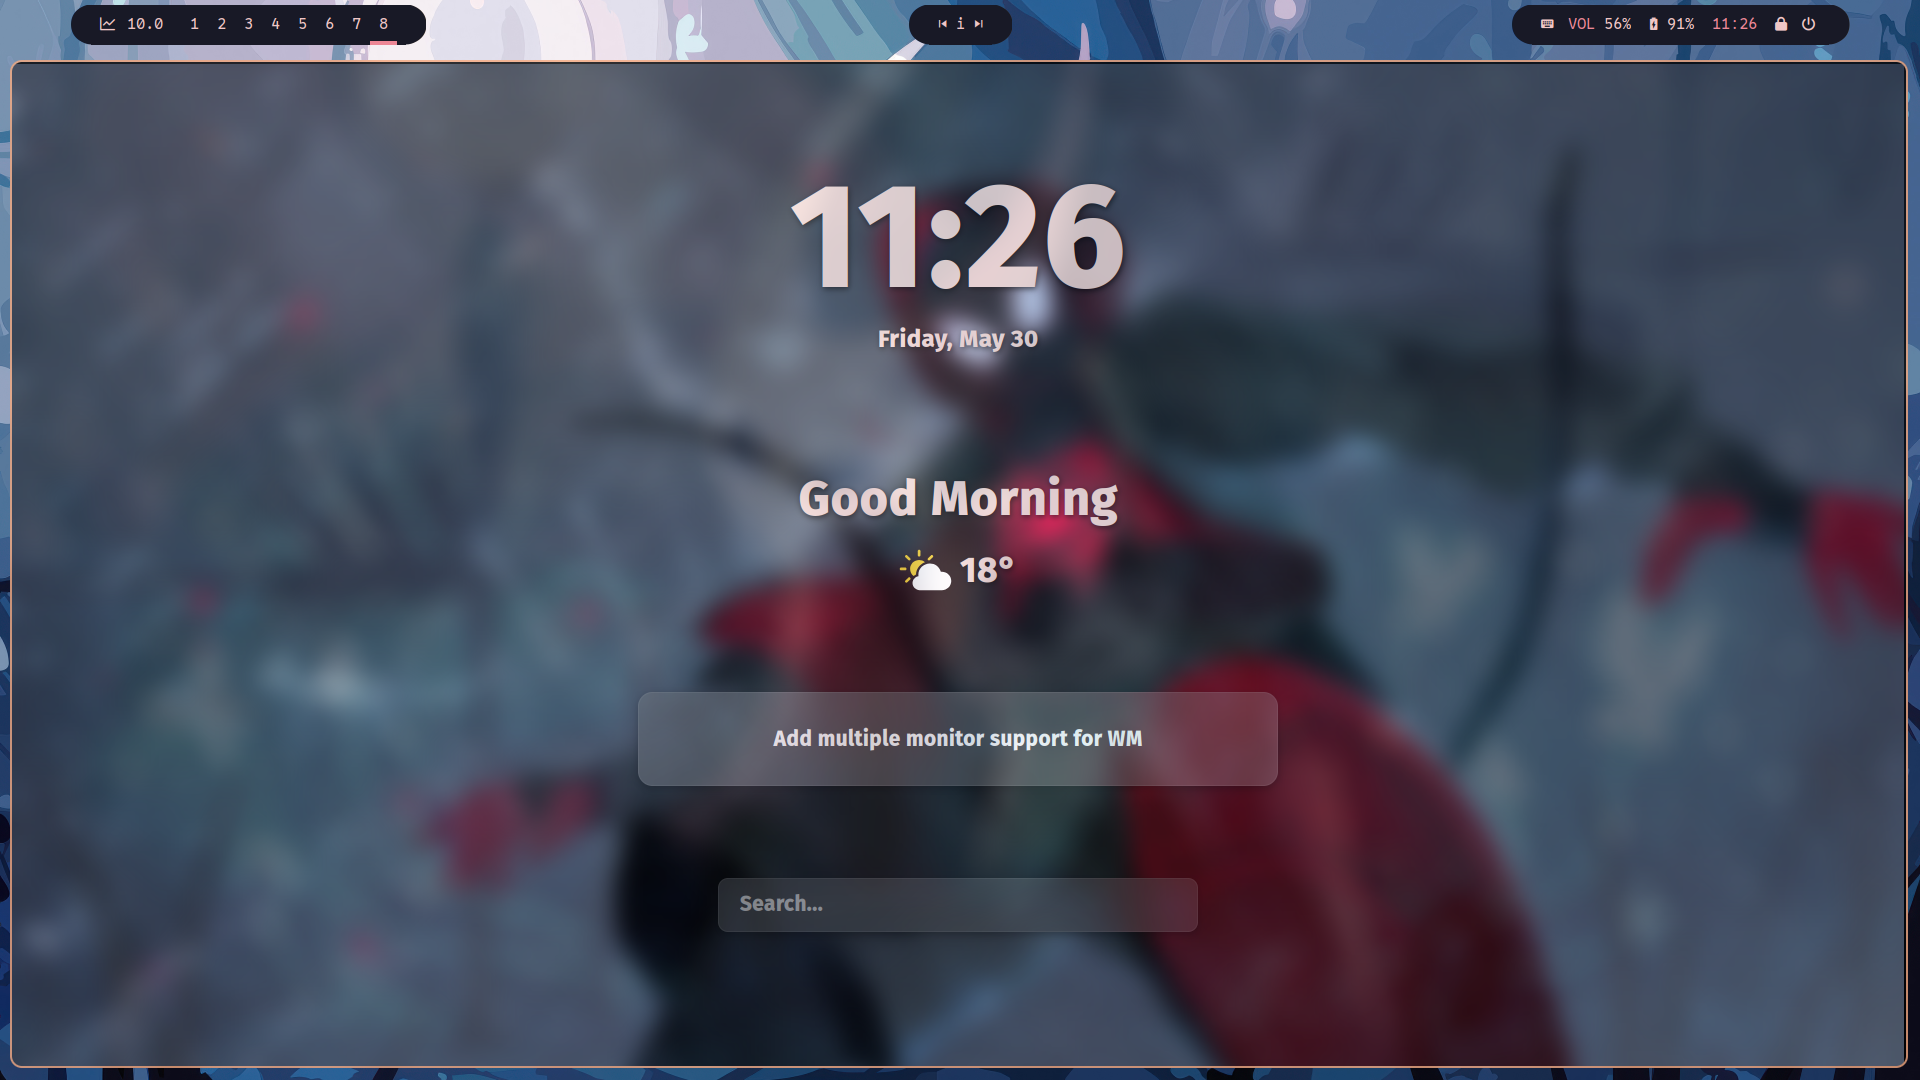
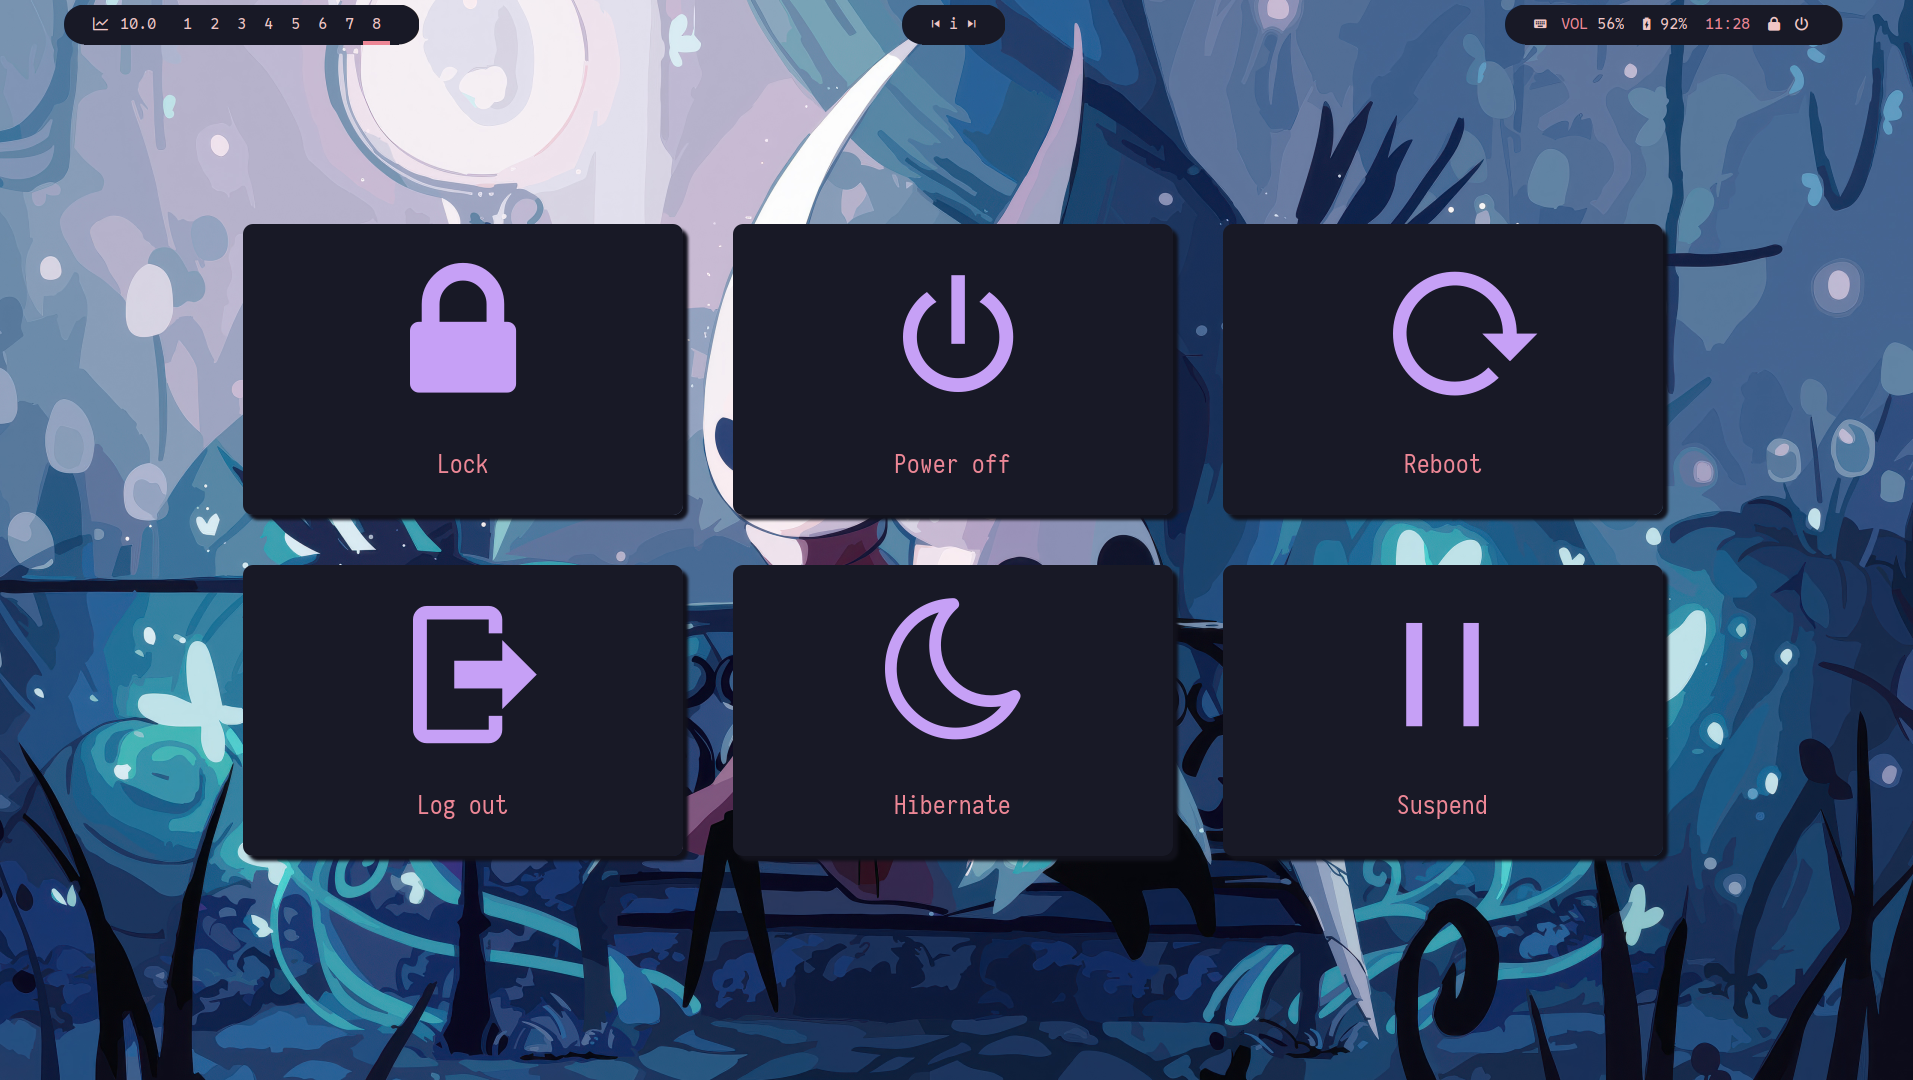

doWM brings you a minimal, fast, and highly customizable tiling and floating window experience.
Take a look at what is possible with doWM!
Currently, the best way to install doWM is to clone and build from source:
git clone https://github.com/BobdaProgrammer/doWM
cd doWM
go build -o ./doWM
make install config
make install config will install doWM and move an an example config into the config folder. you can just run make install and write your own from scratch but the example config is a good place to start. If you did just use make install, you can run the following three commands to copy the example config into ~/.config/doWM/:
mkdir ~/.config/doWM
cp -r ./exampleConfig/* ~/.config/doWM/
Then we must make the autostart.sh executable:
chmod +x ~/.config/doWM/autostart.sh
However, before you go and try to log straight into doWM, check and change the config so that it will work, you probably won't have the same exact keybinds and apps and you would want your own autostart, so although you could just have a glance through, atleast make sure you have a way of leaving doWM, so you would need access to a terminal of some sort. Currently the best way to log out is:
kill $(pgrep -o doWM)
As I said, I recommend you do some configuring which is exactly what I talk about in the next section just below here.
doWM is simple to customize so you can get straight into enjoying the amazing WM. the doWM config is split into two files autostart.sh and doWM.yml. the autostart script is just a simple bash script that is run on initialization of the WM, so things like setting the wallpaper, opening a bar, running a notification daemon, etc. But doWM.yml is the most important file, it is where you will customize doWM to your liking. So lets run through all the different things you can set. There is also an example yml file in the github repo here. One thing to note is that tiling space is just the area the WM has made for your tiling windows to fit into (this space avoids the bar, if one is present). If you read through the code below, it will show you the general settings you can set, with comments to tell you what each thing does, after we will delve into layouts and keybinds:
# gap from edge of tiling space to windows
#  ________________
# |    ________    |
# |   |        |   |
# |   |  win   |   |
# |   |________|   |
# |________________|
outer-gap: 0

# gaps between tiling windows
gaps: 10

# the amount the window will be resized with the keybinds
resize-amount: 5

# wether the WM should auto reload the config when changes are made
# if there is an error in the config, it will keep the old config and not auto update
auto-reload: true

# the mod key used for all window manager actions
# Mod1 = alt
# Mod4 = windows/super key
# those are the usual although all 1-5 are supported
mod-key: "Mod4"

# if set to true, tiling will be enabled at startup instead of having to toggle tiling on every time
default-tiling: true

# the thickness/width of the border/frame around the windows
border-width: 2

# border color for unfocused windows
unactive-border-color: 0xf5a97f

# border color for focused windows
active-border-color: 0xed8796
The multi monitor system is fairly simple, you don't need to add it to your config but you can if you want to specify positions for your monitors. The only rule for the positions is they cannot be negative, this means that the monitor that is the highest has a Y of 0, where as ones lower than that could be something like 1080, same with X, the one on the furthest left would be 0, then to the right of that could be 1920. Here is an example of two monitors, one it above and to the right and the other below and to the left:
monitors:
  # highest and to the right
  - x: 960
    y: 0

  # furthest to the left and below
  - x: 0
    y: 1080
You can move a window between monitors by simply holding the mod key and dragging to the next monitor.
The next thing you can do in the config is define your tiling layouts. However, if you don't want to, you can leave as is from the example config or you can even delete that section entirely, as doWM generates some default layouts anyway. doWM works on a static layout system, meaning you define where you want windows to go in different layouts. The system works quite simply, in the layouts: you would have a list of each of the window counts (a window count is the number of windows in the layout you are about to specify) you want to have layouts for. For example, you could make layouts from 1 window to 5 windows, so you would have layouts for up to 5 windows in a workspace, any more than that and the window would just be placed above the windows to be moved to a seperate workspace or closed. For each layout window number, you specify - windows: for each layout inside of windows you would have a list of windows, each represented like this:
- x: 0.0 # the X percentage in the tiling space, 0.5 would have the top left corner halfway through the width of the tiling space
  y: 0.0 # the Y percentage in the tiling space
  width: 1.0 # The width percentage in the tiling space, 1.0 is the whole width
  height: 1.0 # The height percentage in the tiling space
In the example above, it would have one window that takes up the whole space since its top left corner is at 0% on the X and 0% on the Y and its width and height are the full tiling space (100% width and 100% height). Don't worry if you don't understand this, as it should hopefully become clear by looking at the example below of a simple layout config for 1 and 2 windows:
layouts:
  - 1:
    - windows: # list with 1 window - takes up whole space
      - x: 0.0
        y: 0.0
        width: 1.0
        height: 1.0


  - 2:
    - windows: # list of 2 windows - this is the 1st layout for 2 windows and it is two windows being split halfway
      - x: 0.0
        y: 0.0
        width: 0.5
        height: 1.0
      - x: 0.5
        y: 0.0
        width: 0.5
        height: 1.0
    - windows: # another list of 2 windows - this layout is for one being 2/3 of the width, the other 1/3
      - x: 0.0
        y: 0.0
        width: 0.66666666
        height: 1.0
      - x: 0.6666666666666
        y: 0.0
        width: 0.33333333333333
        height: 1
In the example file I mentioned earlier, you can find a config for layouts up to 10 windows.
The final part of your config is probably the part you will use and change the most, because these are your keybinds, as before, there are example keybinds in the file, but I will explain them to you now. By default, doWM has keybinds to switch workspace and move windows between workspaces, this is your modkey + (0 - 9) to move workspaces and modkey + shift + (0 - 9) to move a window to the workspace your switching to. Each keybind has 3 parameters, the first one is key: this is the letter or name of the key for that keybind, such as: "f1", "w", "c", "right", "left". Next is a boolean, this is shift: and it is if shift should be pressed for it to register that keybind. Finally, you have a string, it will either be an exec: or a role:. An exec is just a string of a command you want to run, note, if you want to run multiple commands, use sh -c 'COMMAND_1 && COMMAND_2', otherwise, you can just put the command to run. A role is an action that should be conducted by the WM. Here are the rules you can use:
quit – gracefully close windowforce-quit – force close windowtoggle-tiling – toggle tiling modetoggle-fullscreen – toggle fullscreen on a windowswap-window-left – swap a window with the previous window in a tiling layoutswap-window-right – swap a window with the next window in a tiling layoutfocus-window-left – focus the previous window in a tiling layoutfocus-window-right – focus the next window in a tiling layoutreload-config – reload the config (not autostart.sh)increase-gap – increase the gap between tiling windows (not permanent)decrease-gap – decrease the gap between tiling windows (not permanent)detach-tiling – toggle detachment of tiling for the current workspace (can be floating while others tile)next-layout – switch to the next layout for the current window countresize-x-scale-up - increases the width of the current windowresize-x-scale-down - decreases the width of the current windowresize-y-scale-up - increases the height of the current windowresize-y-scale-down - decreases height of current windowmove-x-left - moves window to the leftmove-x-right - moves window to the rightmove-y-up - moves window upmove-y-down - moves window downAgain, loads of keybinds are in the example file for you to look at, but here is a short example:
keybinds:
    # When mod + t is pressed then open kitty
  - key: "t"
    shift: false
    exec: "kitty"
  # When mod + shift + right arrow is pressed then switch the focused window to the right
  - key: "right"
    shift: true
    role: "swap-window-right"
And there you go, that was a tour through the configuration of doWM, now I encourage you to go and try out doWM and configure it yourself, just have fun, make it something which you enjoy to use!